Tuesday, 24 September 2013

Lauren's planting fall bulbs

Autumn is my favourite season to garden.  The garden is giving its last grand finale with Dahlias going strong, apples and pears to harvest and the trees of course turning colour.  It is also time to start tidying up, moving/dividing plants around and planting spring bulbs.  Planting spring bulbs is an annual event for my daughter and I.  It was one of the very first things she helped me plant when we first moved into our suburban home, she had just turned 2 at the time.  Bulbs are great for children as they are big hardy easy to manipulate objects that are simply placed in the ground.  The concept that they will turn into flowers in the spring is beyond a 2 or 3 year olds grasp but when spring arrives and the tulips emerge they are amazed and proud when reminded that THEY planted these flowers.  My 7 year old is now able to dig and place the bulbs with very little assistance.  We're trying out a few new bulbs this year instead of the usual dafs and tulips and I've got plans for the school garden and kindergarten's to "help" me with some more bulb planting this year.

Here's a selection of what hopped into my cart, kale and cabbage will be planted in the school garden as well.

 
Daughter hard at work once the sun came out in the afternoon.
 
A fun place to browse for some great bulbs is from this local online supplier:
I'm tempted to buy this weeks Botanus special but am trying to reign in my garden spending.  I tried allium's last year and found they were the first to arrive in the spring making tall spikes topped with Dr. Seus pom poms that were rather cool!
 

Sunday, 15 September 2013

Harvest Fest

To celebrate all good things from the garden and our local farms Shannon decided to host "Harvest Fest" in  her yard last weekend.  Everyone chipped in to bring food made from local ingredients - so many wonderful dishes that I'm afraid if I listed them all I might forget one.  Needless to say the amazing food and drink just kept coming while we all basked in the September afternoon sun. The kids occupied themselves the whole time and might even have eaten some vegetables.


HH made the sign.  He put a "shout out" to DDS (dirt digging sisters).  It was fun having people guess what DDS actually stood for.


Yes, that is a local organic sustainably brewed beer in the foreground.


The hosts sit down for a moment and enjoy the fruits of their labours.  It was a great afternoon - thanks to all who came.
 

Tuesday, 3 September 2013

weekend project whirlwind

We were busy this weekend.  With September arriving and the awareness that the rain may begin anytime and not stop and the added pressure of having a outdoor get together set for our yard next weekend, we were on a project completion mission.

Project 1: Corner Trellis
In the spring, I decided to make garden trellises using galvanized wire fencing and cedar similar to the ones seen here:http://newhomeeconomics.wordpress.com/2011/04/09/how-to-inexpensive-garden-trellis/ I made three of the flat ones for peas and beans to grow up but I never got around to making the corner chimney one until now.  I positioned it next to the chimney and relocated a honey suckle that I had growing on a post next to my front door.  When I originally planted the honey suckle at the front door I thought it would be a welcoming scent but it turned out to be a little wild and needed help staying on the post with me having to tie it up.  It was not the look I was after. I cut the honeysuckle down to a couple feet, dug it up and replanted next to the newly installed trellis.  Hopefully in its new home it will be able to climb the wire trellis without needing my assistance.  I also bought a white jasmine and planted it next to the peonies on the front side of the trellis.  I think the new climbers will add a nice view when sitting under the pergola next to it and hopefully provide a nice scent.


Project 2: Planters
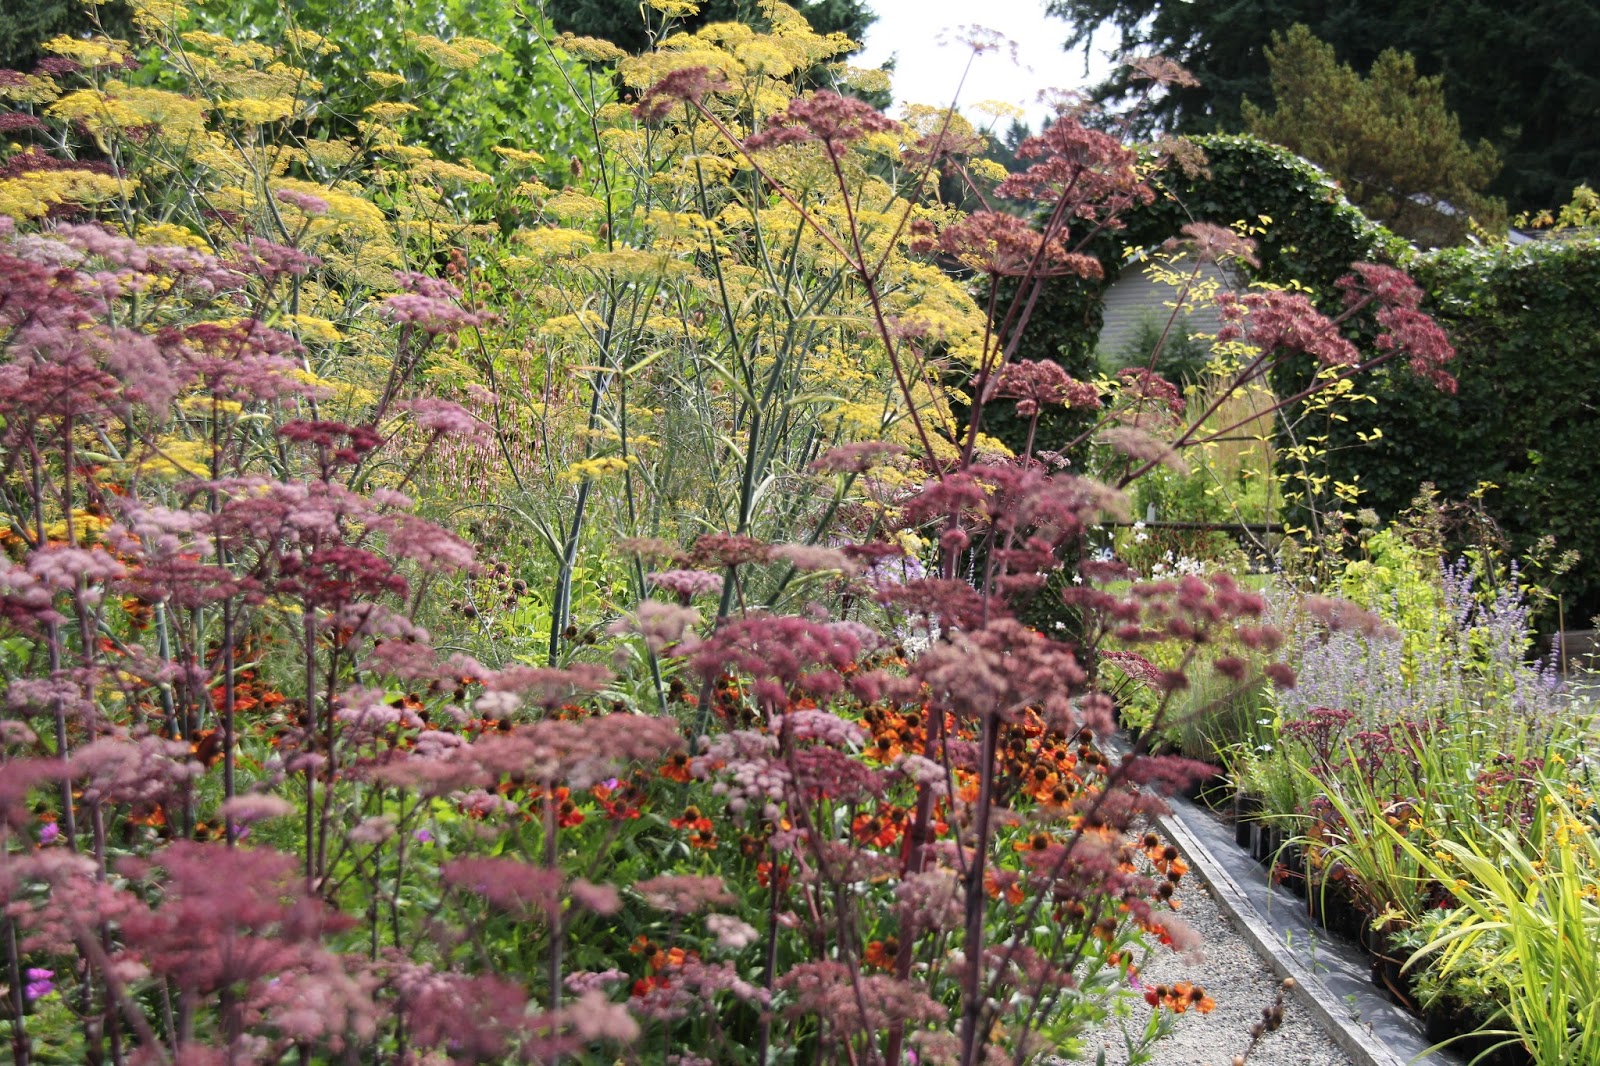
I planted fall planters at my front door. I bought two fall mums (Chrysanthemum) and one container of golden Japanese forest grass (Hakonechloa macra 'Aureola’) that I split between the two planters. All the other plants I scavenged from mine and Lauren's yards. In one planter I added a small smoke bush (Continus), euphorbia, Japanese blood grass(Imperata cylindrica), and salal (Gaultheria shallon ). In the other planter I replaced the smoke bush with a Heuchera. I think that the planters look fallish and by borrowing from our gardens they didn't cost too much.
 
 My daughter made her own planters.
 
 
Project 3: Playhouse mirror and chalk boards
I finally got around to spray painting chalk paint on two trays I had picked up from a second store.  After the trays were dry I hung them along with an old mirror in the playhouse. Hopefully these will add the to the playtime fun!

Chalkboard in action.


Project 4: Shed paving stone floor
Last weekend we poured a perimeter foundation for our future shed.  Since we had paving stones left from the patio project we decided to use some of the extra for the shed floor. Once again we dug out the sod and dirt, added a layer of gravel, a layer of sand and installed the paving stones on top.  Now we can start building up!

Project 5: Garden bed extension
Somehow my garden borders always seem to be getting bigger.  This time it was necessary. I had recently tried to tie in the round border that surrounds the front corner of my house and the narrow path that runs along side the pergola.  They joined awkwardly together. I then dug up some grass to add a bump feature but that still looked weird so I dug up more grass and now the round corner ties in directly with the front side of the pergola in a straight line instead of a weird bump.  This gave me more planting room where I decided to plant 3 small blueberry bushes that a blueberry farmer friend had propagated and gave to me. 


Now I'm tired!

Sunday, 1 September 2013

Field Trip: Free Spirit Nursery

Last Friday we needed a little plant retail therapy so the dds' headed out to a very inspiring nursery in Langley, B.C.  Of course we came away with more than a few special plants but also a good feeling about supporting a unique organic business that has been established for 27 years.  The owners are very warm and welcoming and have vast amounts of knowledge about each and every plant they have propagated on site.  You get to wander around a designated garden area where almost every plant is available to purchase and potted nearby in  its natural location in the garden.  Observing the plants within the beds gives a  really good sense of what the perennial you are interested in will look like at full growth and in combination with other plants.


Interesting objects in series, shaped yew hedges, deciduous hedges, arched metal rods atop arbors and focal points at every turn provide me with way too many ideas. 

Check out
Please take note of their calendar to make sure they are open.

Tuesday, 27 August 2013

Driveway Mystery

Many people are anxious to leave their homes and go away on holidays for fear they will be robbed.  I've become more concerned that when coming home instead of finding things missing, I will find new stuff  that will have appeared out of thin air and arrived on my doorstep.  Now admittedly, a new shiny car or a large cheque would be OK but these are not the kind of items that materialise at my home when I go away for the weekend. 

THIS is the kind of thing that arrives when I am not home.


Yes, imagine my surprise to see this at the end of my driveway as we pull in.  At least I had seen it before and pieced together the puzzle.  My husband was thinking we needed to call the military to disarm it.  A few posts ago I mentioned I wanted an antique object to add whimsy to my garden - this was not what I was looking for, though it may be considered a family heirloom.  It is actually a cement mixer that my Dad has used for many years and recently resurrected for Shannon to complete the concrete foundation  for her new shed project.  Apparently once the concrete was poured the mixer needed to go somewhere so it was toed over to my driveway.  I think this may be payback for a trailer full of sand that I dumped at Shannon's place while they were away several weeks ago.  I am told the mixer is now 70 years old, though some of the parts it was frankenstiened from are even older.  The axle was from a model T-ford.

So now I guess the pressure is on to make the forms for the retaining wall under my deck.  Luckily Shannon off loaded a pile of extra navijack (a sand and gravel mixture used to make concrete) beside my house about a year ago so we might as well get mixing.  If only that would happen while we were away.

L.

Monday, 19 August 2013

diy modern playhouse

Our daughter turned 3 in the spring and we decided she needed her own playhouse.  I started out scouring craigslist looking for a used playhouse at a fair price but the cheap ones were gone before I got to them or people were asking way too much for a used playhouse.  We decided to build our own.  We thought it would be cheaper to build from scratch rather than buy a pre-fab kit, we were wrong.  The upside was I got to design it and our daughter ended up with unique playhouse just for her!  It is made out of cedar except for the four corner posts that are pressure treated. After adding the cedar shakes to the exterior we installed thin plywood to the interior walls to hide all the nails protruding through.  The roof is made out of corrugated metal.


Of course every playhouse should have its own mailbox.
View from the kitchen sink.
Sunshine curtain made out of outdoor fabric....hopefully it won't mold.
Curtain rod made out of plumbing materials.
A very full sandbox thanks to the extra sand Lauren dumped on my front yard when I wasn't home.
Munchkins playing in the sandbox.  I still need to make a sandbox cover to prevent neighbourhood cats from doing their business in the sandbox....so gross.

Tuesday, 13 August 2013

Garden Gate DIY project

Oh the lazy days of summer, time to relax, have a drink and read a book in the garden. After several minutes of this, it is time to put away the book, get out the table saw and start a new project.  My HH was determined to get this garden gate project off his/my list during his summer vacation.  We've managed without a side gate for many years but with our littlest one beginning to walk we thought it was time to make something to keep our explorer contained.  The parameters for the design of the gate included:
  • had to allow light to pass overtop and through from the West so as to not shade the back veggie garden
  • able to pop off and remove the gate to allow a vehicle or Boler Trailer enough space to pass through to the backyard, which also means needed to be fairly light weight
  • 2 sides opening from the middle to provide what I think makes a welcoming entrance to the back yard
  • made of cedar because it is the kind of wood available and commonly used here in the Pacific northwest

First Step:  HH is removing an old rotten fence post and replacing it with a new one set in concrete about two feet into the ground.  Replacing the old fence was NOT part of this project but we did end up replacing one other post at the same time to keep theold fence a little more vertical.


Below you can see the back side of the completed gate.  I think my HH is giving himself a pat on the back for a job well done.  You can see from this side that we screwed the 1"x 2"s with a gap of a half inch onto a frame made of 2"x2"s.  The metal corners also provide structure to the frame of the gate and were from a "gate kit" available at hardware stores.  The hinges are able to pop off and are attached to a post on the fence and a 2" x 4" with a backer inside the garage.  We hung the gates and held up a hose to create the swoop curve.  After marking  the curve we wanted, we took the gate down and cut the posts down using a jig saw.